I've seen these recipes floating around Pinterest for a while now, so putting them on my blog is really just for my sake and the sake of anyone else who just wants a couple easy freezer dishes all in one place. Anyways, first thing yesterday morning, I headed to the grocery store to pick up everything I would need for 6 meals + all of our dinners for next week! This turned out to be a really good day to buy all of my ingredients because the Stop & Shop was having a HUGE sale on all their meat. Score!
When I got home and unpacked the groceries, I immediately threw all of the chicken in to a pot of water to poach and all of the ground beef in a pan with chopped onions to brown. That way, all of my meat was cooked and could be incorporated into whichever meal it was intended for quickly.
 |
| Mid- Madness. |
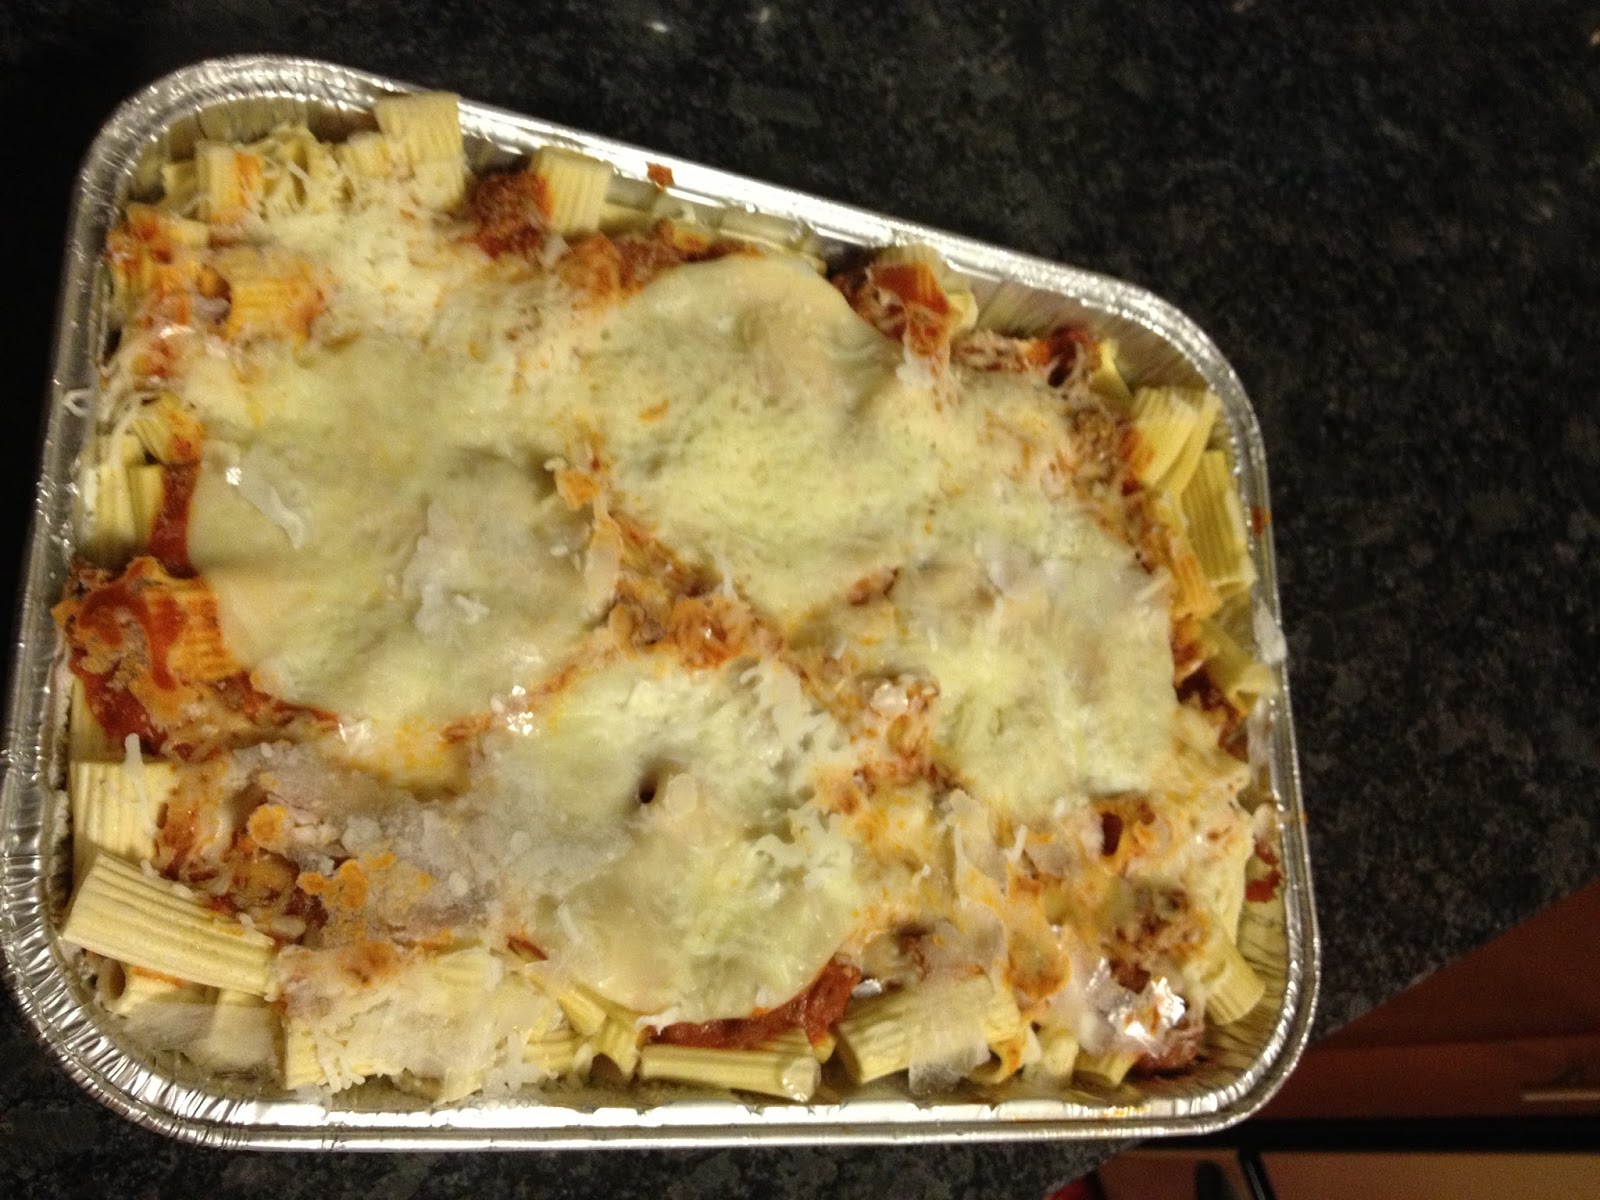
Baked Ziti:
Ingredients:
- 1 lb. ziti pasta
- 1 onion
- 1 lb. ground beef
- 1 1/2 jars spaghetti sauce
- 10 slices provolone cheese
- 1 1/2 cups sour cream
- 6 oz. mozzarella cheese, shredded
- 2 tbsp. parmesan cheese
Directions:
1. Bring a large pot of lightly salted water to a boil. Add ziti pasta and cook according to package directions.
2. In a large skillet, brown onion and ground beef over medium heat. add spaghetti sauce and simmer 15 minutes.
3. Layer in pan: half of the ziti, half the sauce, 5 slices of provolone cheese, half the sour cream, and half the mozzarella cheese. Repeat with remaining ingredients and top with parmesan cheese. Cover tightly with tin foil and place in freezer for up to 2 months.
4. When you're ready to eat, take casserole out of the freezer and defrost in the fridge over night or for 8 hours. Bake covered for 30 minutes at 350 degrees, or until cheese is melted.
Original Recipe can be found here.
Broccoli, Chicken, and Rice Casserole

Ingredients:
- 2 cups cooked rice (I used white)
- 1 1/2 cups chicken, chopped
- 1 1/2 cups broccoli, chopped and steamed
- 1 can cream of mushroom soup
- 1 can cream of chicken soup
- 2 cups shredded cheddar cheese
- salt and pepper to taste
Directions:
1. Once everything is cooked and prepared, combine all ingredients in a large pot and transfer to a lightly-greased casserole dish. Sprinkle the top with cheddar cheese and seal the casserole dish with tin foil.
2. When you're ready to eat, defrost in fridge overnight or for 8 hours. Bake at 350 degrees, uncovered, for 25-30 minutes, or until heated through and cheese is bubbly.
Original recipe can be found here.
**The rest of these recipes came from one of my favorite cookbooks- Southern Living's Busy Mom's Weeknight Favorites. No, I am not a mom, but I can be busy and these recipes are awesome!**
Taco Casserole

Ingredients:
- 1 lb. ground beef
- 1 onion
- 1 tsp. minced garlic
- 1/2 tsp. pepper
- 1 can kidney beans, drained
- 1 can cream of chicken soup
- 1 can cream of mushroom soup
- 1 (10 oz) can diced tomatoes and green chiles, undrained
- 8 (6-inch) corn tortillas, cut into quarters
- 16 oz. cheddar cheese, shredded (Original recipe calls for Velveeta cheese crumbles- but I couldn't find them.)
Directions:
- Cook first four ingredients in a large skillet, until beef is no longer pink. Drain and return to skillet. Stir in beans, cream of chicken soup, cream of mushroom soup, and diced tomatoes.
- Layer half of tortillas in the bottom of your casserole dish. Top with half of the meat mixture and half of the cheese. Repeat layers with the remainder of the ingredients. Cover tightly with aluminum foil and freeze for up to two months.
- When you're ready to eat, defrost in fridge overnight or for 8 hours. Bake, uncovered, for 45-55 minutes, or until thoroughly heated.
Beef Lombardi

Ingredients:
- 1 lb. ground beef
- 1 (14.5 oz) can diced tomatoes, undrained
- 2 tsp. sugar
- 1 1/2 tsp. salt
- 1/4 tsp. pepper
- 1 (6 oz) can tomato paste
- 1 bay leaf
- 1 package egg noodles
- 1 (8 oz) container sour cream
- 1 cup sharp cheddar cheese, shredded
- 1 cup grated parmesan cheese
- 1 cup mozzarella cheese
Directions:
- Cook beef in a large skillet over medium heat until browned. Drain and return to pan. Stir in diced tomatoes, sugar, salt, and pepper and cook for 5 minutes. Add tomato paste and bay leaf, and simmer 30 minutes, stirring occasionally.
- Meanwhile, cook egg noodles according to package directions; drain and return to pan. Stir in sour cream. Spoon noodle mixture into casserole dish. Top with meat mixture and sprinkle with cheeses.
- Cover tightly and freeze for up to two months.
- When you're ready to enjoy: Remove from freezer and defrost in fridge overnight or for 8 hours. Bake, covered, at 350 degrees for 35 minutes. Uncover and bake 5 more minutes.
Chicken & Stuffing

Ingredients:
- 1/4 cup butter
- 2 celery ribs, chopped
- 10 cornbread muffins, crumbled (my grocery store always has fresh cornbread for sale in the bakery, so I just bought a pan of that.)
- 1/2 (16 oz.) package herb-seasoned stuffing mix
- 5 cups chicken broth
- 1 1/2 cups cooked chicken, chopped
- 2 large eggs
- 1/2 tsp. poultry seasoning
Directions:
- Melt butter in a large skillet over medium heat; add celery and saute 5 minutes or until tender.
- Combine cornbread and remaining ingredients in a large bowl; add sauteed mixture, stirring well. Spoon mixtures into a casserole dish; cover tightly with aluminum foil and freeze for up to two months.
- When you're ready to eat, defrost in fridge overnight or for 8 hours. Uncover casserole and bake at 350 degrees for 55 minutes or until lightly browned.

And there you have it! 5 good-looking recipes waiting to be defrosted and consumed on a night off from the kitchen!
Now, the 6 recipe was originally intended to be a freezer meal, but I needed something to bring with me to life group last night, so I cooked up double of this one and put the other half in the fridge to eat for dinner tonight. (I just cooked for 5 hours... I'm taking a day off!)
Ham Tetrazzini

Original recipe calls for Turkey instead of ham- but Ryan and I always preferred ham in this one!
Ingredients:
- 12 oz. vermicelli, broken in half
- 1 tbsp. butter
- 1 medium onion, chopped
- 1 package mushrooms
- 1 tsp. minced garlic
- 4 cups cubed ham steak
- 1 1/2 cups cheddar cheese, shredded
- 1/4 cup parmesan cheese
- 1 can cream of mushroom soup
- 1 can cream of celery soup
- 1 (8 oz) container sour cream
- 1/2 cup chicken broth
- salt and pepper, to taste
Directions:
- Cook vermicelli according to package directions. Meanwhile, melt butter in a large pot over medium-high heat; add onion, mushrooms, and garlic; saute 5 minutes or until tender.
- Stir in ham, 3/4 cup cheddar cheese, and remaining 7 ingredients. Drain vermicelli, and add to ham mixture; stir well.
- Spoon mixture into casserole dish and sprinkle with remaining cheese. Cover tightly with aluminum foil and freeze for up to two months. *I skipped this step since we're eating it tonight!*
- When you're ready to eat, defrost in fridge overnight or for 8 hours. Bake at 350 degrees, covered, for 1 hour. Uncover and bake 15 more minutes or until thoroughly heated and cheese is bubbly.
Phew, that was A LOT of cooking! If this turns out to be as good of a thing as I think it will be, I will be doing something like this once a month! Stay tuned!