I honestly believe I have studied as much as I can to prepare myself, so before I go sit in front of the computer for 255 minutes, I'm plopping down in front of my computer to tell ya'll about a recent project Ryan and I tackled last week!
Since I began substitute teaching last year, my jewelry wardrobe as continued to grow- since everyone knows a cute necklace can make an outfit, right?! Anyways, I had all these necklaces laying around and nowhere to really store any of them. So, of course, I took to Pinterest to find a solution! I stumbled upon an Etsy sight that sold Jewelry organizers and thought, "I could totally make that myself!" So, I did!

Here's what you need:
- 1 piece of wood (I went to Home Depot and had them cut a piece of wood to 1x4x10 for $1.50!)
- 1 can of Wood Stain + a rag you don't mind throwing away after
- 4 drawer pulls/knobs
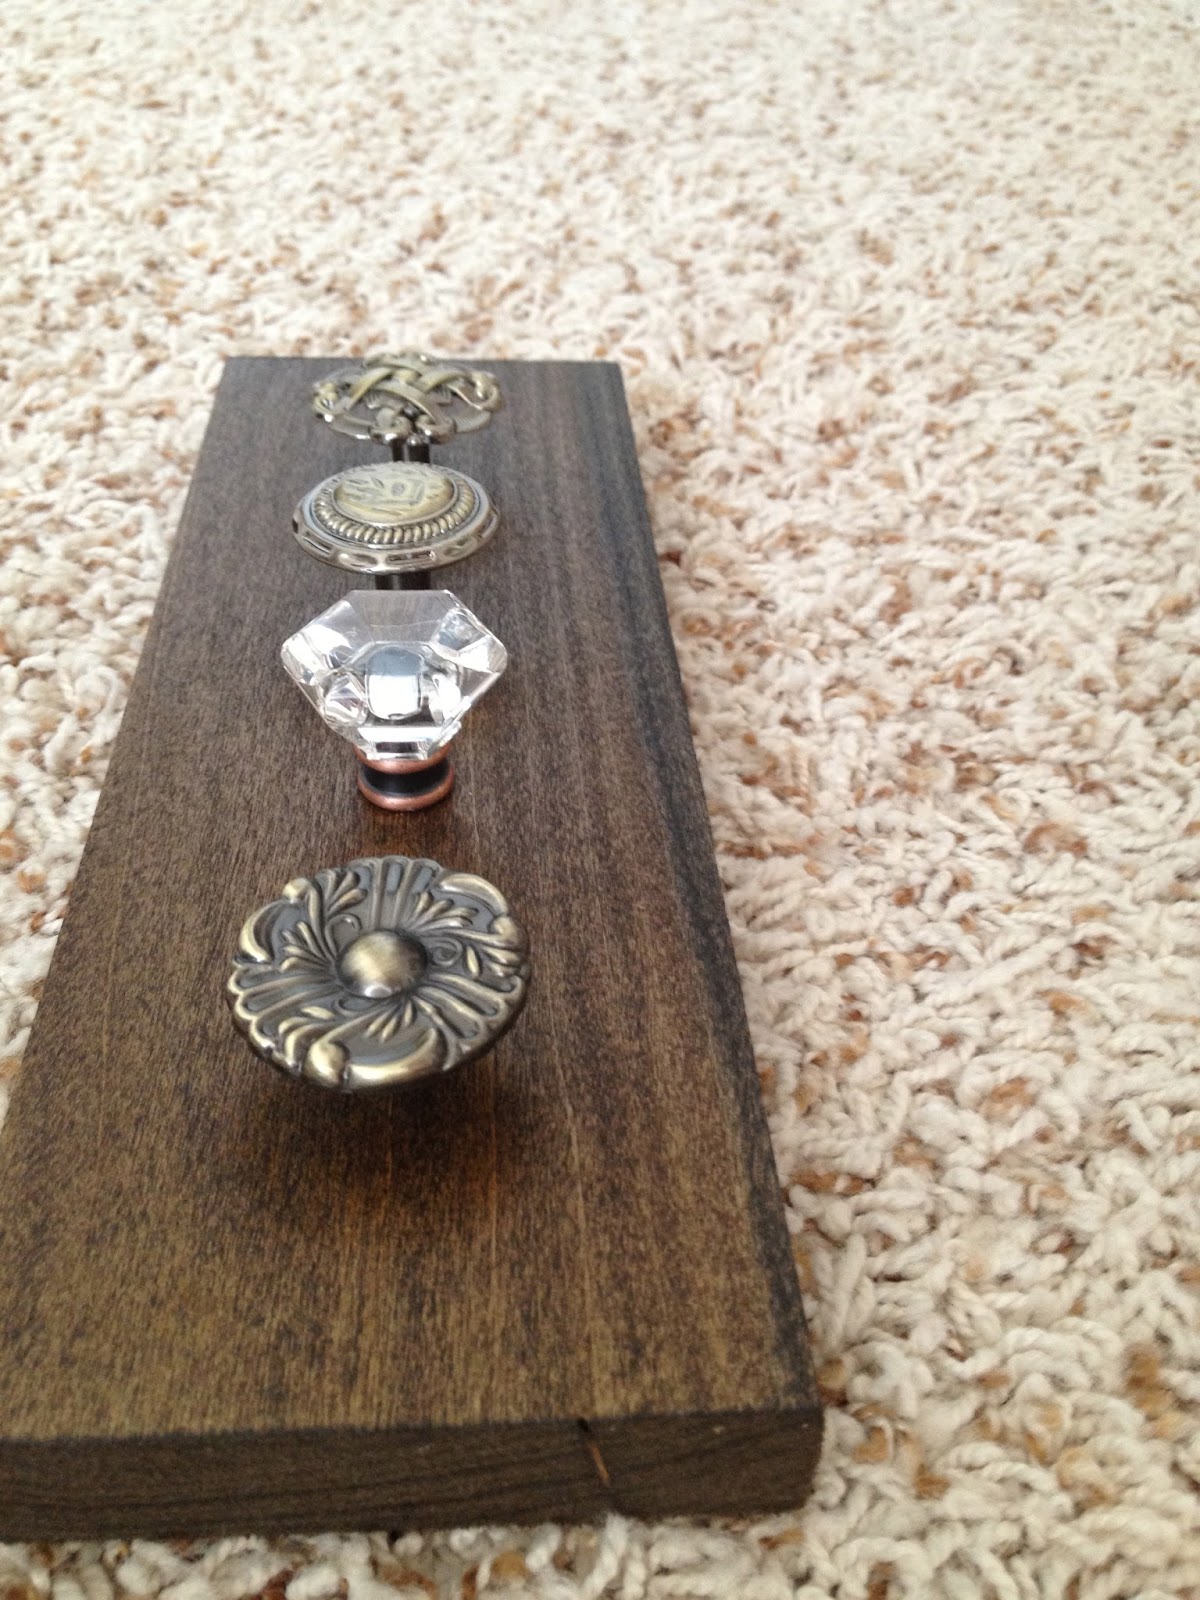
Like I said before, Home Depot will cut the wood you chose to your desired length. The wall I wanted to hang this on is pretty small, so I wanted it to be just less than a foot long, therefore the man cut the 1x4 wood plank to 10 inches long. Once I grabbed that, I headed over to a different section and picked out 4 knobs I wanted to screw onto the board and a stain color. Once you have all of your supplies, the rest is easy!


Once that dried (about 2 hours), my big, strong husband screwed in four drawer knobs. Next, we took a frame hanger and screwed that in to the top middle so that we could hang it!


Finally, we hung up the piece! Now my necklaces are displayed beautifully and won't turn into a tangled mess on top of our dresser!! Plus, the whole project cost about $10 and only took a couple hours (including drying time)! I call that a successful DIY!


Alright ya'll, I'm off to ACE this test! Wish me luck!
That is VERY cute. I love it! I made a necklace holder a year or so ago, and I love it, but this one is making me think about making a new one. This would work great for bracelets too, I think. Good luck on your test!
ReplyDeleteIt definitely works for bracelets! I hung a few up on one of the knobs yesterday!!
DeleteThis is such a great idea, I love it! My necklaces always get so tangled and it drives me nuts - I need to make one of these! Hope you did well on the test! :)
ReplyDeleteThanks! Send me a picture if you decide to make it! And thank you for the well wishes! I'll find out how I did in a couple weeks! Fingers crossed!
DeleteGood luck on your test! I ended up not taking mine after all (long story).
ReplyDeleteKevin made me a necklace holder for our first year anniversary. I'll have to show you. You can kind of see it here though: http://frostedlightly.wordpress.com/2011/05/19/see-hes-her-lobster/
Wow Sarah what an awesome idea!! I love it.
ReplyDeleteCheers,
Keith
Thanks Keith!
Delete